Sunday, November 24, 2013

Webbing Part 1

As a little more reinforcement for the chairs, I added an angled piece to each corner of the seat. Easy enough to cut, make the pocket holes, glue and screw in place...until you realize that 8 chairs means doing it 32 times!
Next I got to start on the webbing. Earlier this year I ordered a huge roll online and had it shipped to my in-laws who brought it back for me.
I started with the seats and did 3 strips front to back on each chair. 
And now we know: the online place had great quality webbing, it’s really easy to work from the roll and just pull out a section as you go

Sunday, November 17, 2013

Sanding, Staining and Clear Coating Chair Legs

My husband ‘banned’ sanding indoors recently and unfortunately it is already cold here, so sanding the legs of these chairs was pretty unpleasant. Luckily it was only the legs though, as the rest will be covered when I upholster. 
Once sanded, I applied 2 coats of an oil based stain, same as my previous chairs, in a dark brown. It was very smelly in our house; ideally this would be done outside as well.
After a couple of days of drying, I gave them 2 coats of semi-gloss polycrylic. I actually used the same stuff as the hardwood floors upstairs as it has such a nice finish.
And now we know: don’t wear your respirator too tight, it makes your lips numb which feels super weird

Tuesday, November 12, 2013

Chair Frames Complete

With an extra long weekend giving me lots of time to work on my chairs, I got the frames completed for all 8 chairs. After a trip to the store for more wood, I finished cutting out all the back rails. They got clamped together and roughly sanded to ensure they were uniform in size.
The lower back rounded pieces got cut out and sanded.
Finally it was time to start assembly. The first step was attaching 2 back rails together with a curved piece at the top of the frame.
Then I built a jig to attach the side seat pieces to the front piece/front legs assembly. Since they are on a slight angle, this allows consistent and faster assembly.
All these seats and legs had to be stacked, cause I was running out of floor space at this point.
Next was attaching the front assemblies and back assemblies together and adding the curved piece at the back of the seat. This was the most pain in the butt part where I wished I had another set of hands, but I got through it and all the frames are complete
I love the way they look all lined up in my shop like this.
And now we know: always buy double the amount of screws you think you need, I had to make a second trip to the store for pocket hole screws

Sunday, November 3, 2013

Making Chair Progress

This weekend I made great progress on my dining room chairs. I got a new tool to help make things easier...a benchtop bandsaw. After looking around for a few months and realizing there aren’t many options unless you want to spend $2000, I settled on this Rockwell one. It feels more durable and solid that any of the others in this price range.
Using the new bandsaw, I cut all the curved pieces for the top back, between the 2 back rails. These pieces are curved on both sides and are just over an inch wide.
Then I built a jig to help with the assembly of the front legs. It is just wood clamped to create a square corner, but it allowed me to quickly line up the pieces and have something solid to drill against.

I then assembled all 8 sets of legs, with a leg on each end and a straight piece between. These I had pre-cut and drilled for pocket holes. 
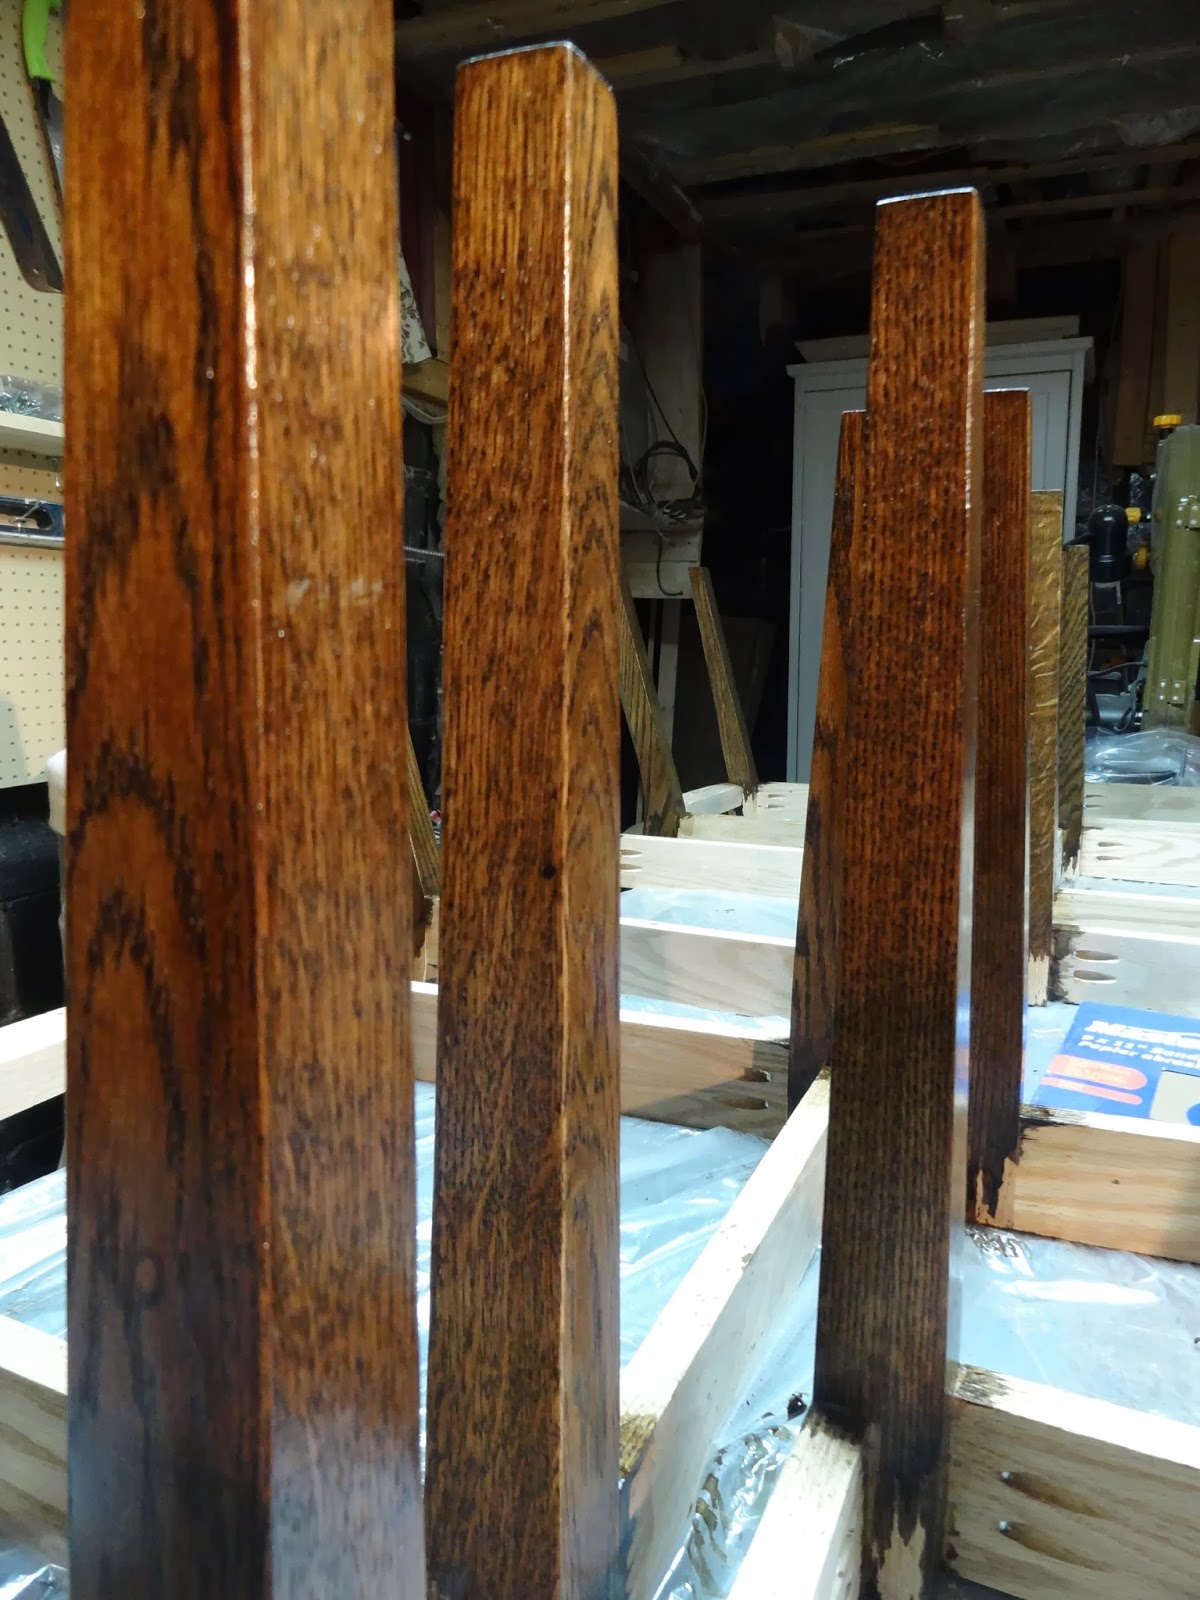
Since it was fairly nice out, ie not raining or snowing, I also got all the assembled legs sanded and they are ready for stain.
Finally I finished cutting out all the back rails...or finished as many as I could. I need to go buy more wood. Currently I have 9 out of 16 done.
And now we know: cutting with a bandsaw is different than any other saw I’ve used, most similar to a jigsaw. With a regular saw the blade is hard and you can push against is with the wood. With the bandsaw the blade flexes so too much pressure will cause it to cut wrong, you have to gently and slowly work the wood.